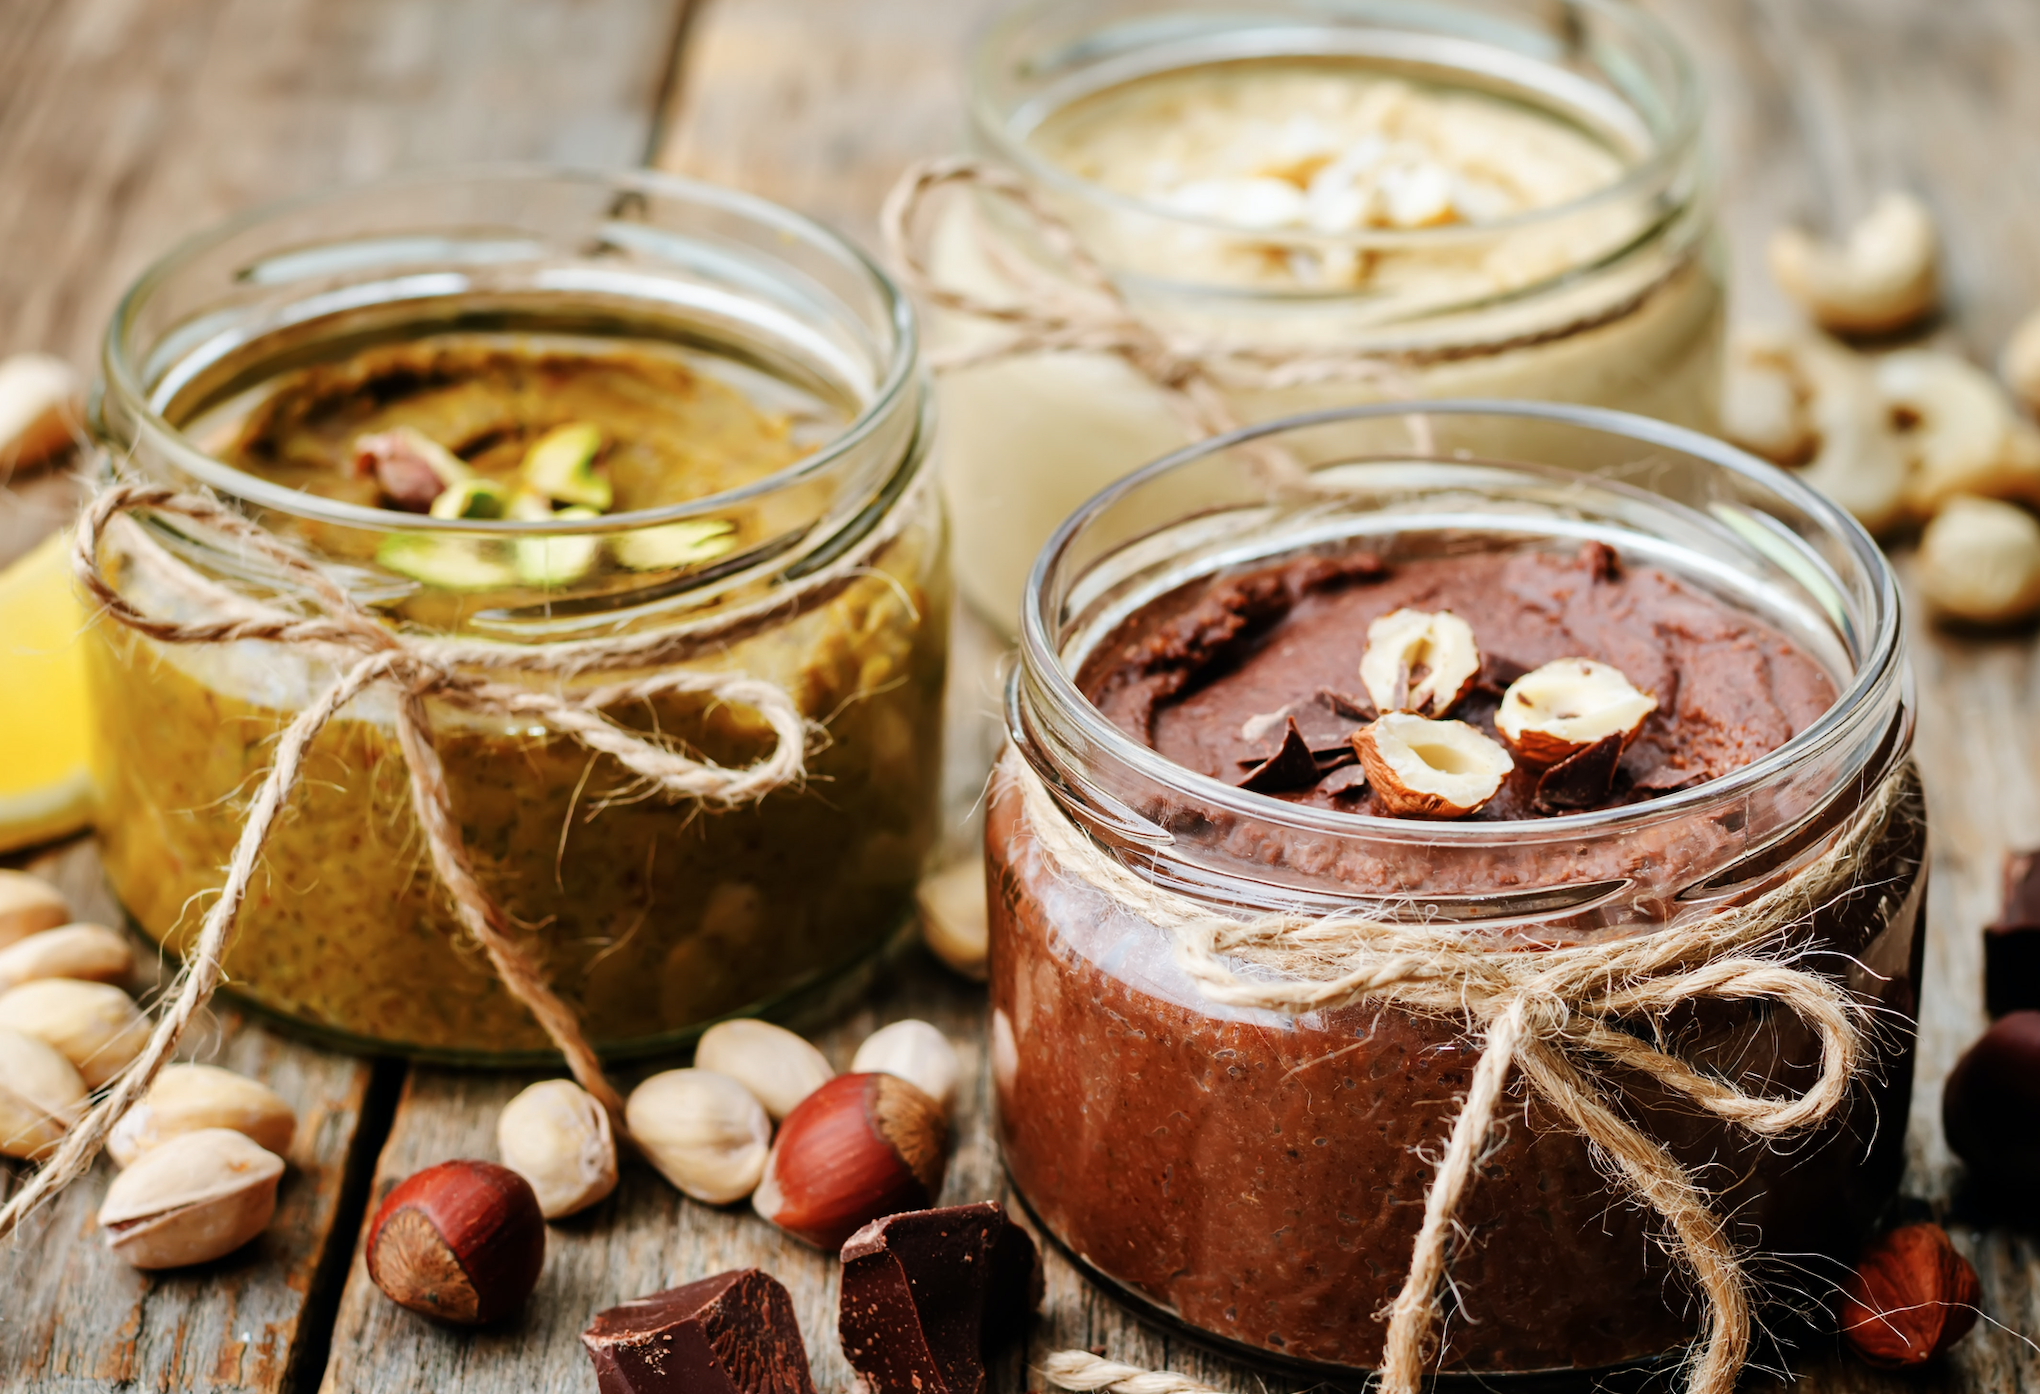
Move over peanut butter, you must try this easy, gourmet nut butter recipe.
Making your own food, especially condiments, has more pros than cons. Even though it might sound complicated, it’s often quite easy.
Generally speaking, the healthier the recipe, the easier it is to make. Using fewer ingredients and less processing, home made recipes are good for you and take no time at all.
Take Nut Butters. Commercial nut butters are generally not activated (which is a process related to the prepping of the nuts before you make them into butter).
And more often than not, commercial butters are full of salt, sugar, palm or vegetable oils and other harmful ingredients. Making your own is easy and inexpensive so don’t get intimidated and give it a try. All you need is your favourite nuts and a good blender. Literally.
STEPS:
- Activate
If you want your nut butter to be super healthy, activating the nuts is your first step. You can totally skip this step and start with roasting, just keep in mind that activating will remove the phytic acid and enzyme inhibitors that are naturally occurring in raw nuts.
Removing them will make the nut butter gentler on your stomach and it will also increase digestibility of all the amino acids, vitamins and minerals present in the nuts.
The process is quite simple. Rinse the nuts and then soak them in a solution of water and salt (one teaspoon of salt per one cup of water). Soaking durations will vary.
While two to four hours is sufficient for cashews, Brazil nuts, hazelnuts and macadamias; walnuts, almonds and pecans will require 8-12 hours. After soaking, strain and rinse thoroughly then move onto roasting.
- Roast
Spread the nuts over a baking tray and set your oven on the lowest possible temperature, preferably no higher than 65 C. Let them roast for 12-24 hours for almonds, walnuts, Brazil nuts and pistachios and 12-15 hours for cashews, hazelnuts, macadamias and pecans. Stir and taste them occasionally. They are ready when they are dry and crunchy.
If you are using hazelnuts, transfer them to a clean dishtowel after roasting and rub them against one another using the towel to remove the skins.
- Blend
Now you just have to blend the nuts. It’s easier when they are still warm from the oven as the heat helps to release oils more readily.
Keep blending until a creamy butter forms. The nuts should go from whole, to meal, to clumps, to creamy nut butter. This can take up to 10-12 or more minutes. As longer you blend, as more oils get released and as thinner the butter becomes. Scrape down sides as needed.
- Add flavours
You can keep your nut butter natural or you can experiment and add flavours. Blend in monk fruit powder for a little bit of sweetness or salt if you are a savoury lover. I also like adding cinnamon and vanilla.
To make a healthy sugar-free Nutella add raw cacao powder, vanilla powder and monk fruit powder. It’s better to use powdered flavours as liquids can change the nut butter consistency and make it too stiff.
- Add extra goodness
For an extra benefit, you can also add some unflavoured collagen or protein powder to the mix. It will be quite tricky to get the consistency right though and the amounts to add will differ depending on a brand and type of the collagen or protein powder.
Once you are done with your deliciousness, transfer it to a glass jar and store in the fridge for up to 3 weeks.
If you’re looking for an option with double the goodness but half the ‘hands on’ time, check out the Beauty Food Collagen Nut Butters for your peanut butter fix. With added collagen, it’s designed to be eaten daily to support healthy hair, skin and nails.
Perfect by itself, or with apple, banana or a yummy sourdough! Formulated for maximum drizzle or to be refrigerated if you prefer a thick, creamy nut butter.
Written by: Veronika Larisova – Nutritionist, Exercise Physiologist, Fitgenes practitioner and Educator who has worked with a wide range of clientele including Olympic athletes to weekend warriors. She is also the Co-Founder of Beauty Food.

